prints, drawings, paintings, web development, blog posts, link to etsy shop
Reduction Print Process with Transparent Linoleum
Reduction Print Process with Transparent Linoleum
I've been sharing the reduction print development process in photos on tumblr when I started doing these prints with transparent linoleum. Aside: transparent linoleum is a relatively new product made by Richeson that eliminates the need to transfer your image. Because it's clear, you can use your original image as a guide by placing it under the linoleum. I will say that this "linoleum" takes a little getting used to because it doesn't really "cut like butter" the way its creators describe, and I think it also dulls my linoleum cutters. However, after using it for several prints, I've begun to love its clean-edge cuts and flexible smooth surface that nicely transfers a thin film of ink during printing. I've been able to layer multiple colors without too much ink buildup.
To take a break from the animal card prints, I decided to start a new reduction print this week - attempting more than five colors this time. Developing the color separations has become a fun process for me. I always start with one of my own photographs, usually something I've snapped quickly with my iPhone while on a bike ride or driving. Then I use Photoshop to tweak the image's natural colors - I like to one-up nature and make it more colorful or eye-popping with my own interpretation of color. And I try to break it down to the fewest colors possible that maintains the feel of the original image. (At some point in the near future, I would like to break from this behavior and work more non-objectively, but I'm currently enjoying being stuck in a classical art vein with my prints.)
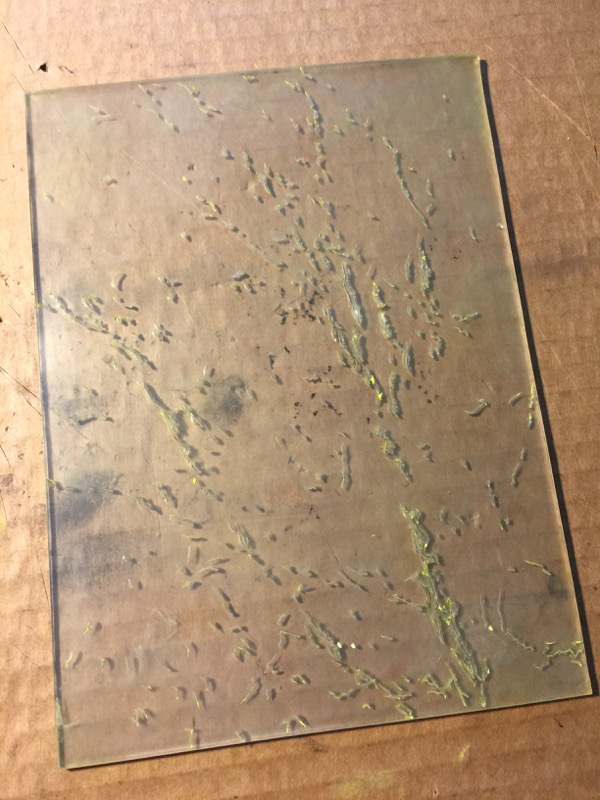
If there's white in the image, I will carve away all the white areas first.
Here is the plate with the white carved away:
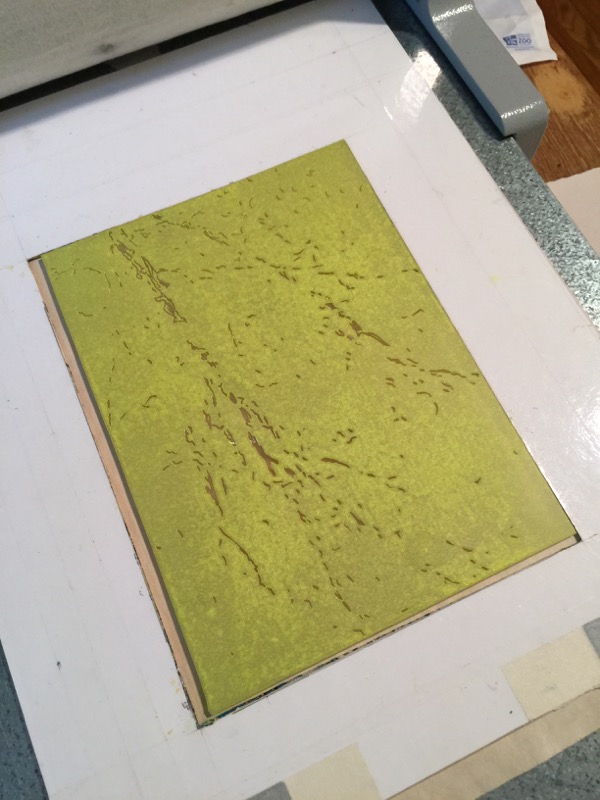
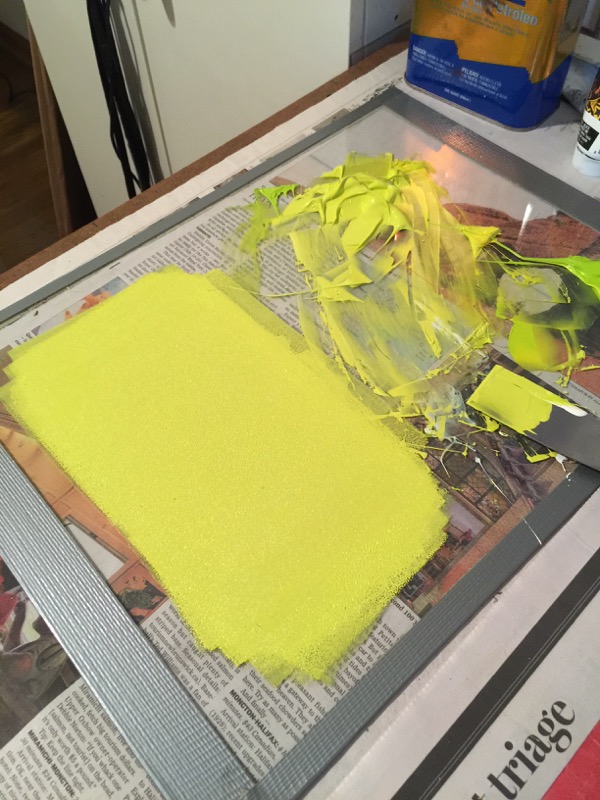
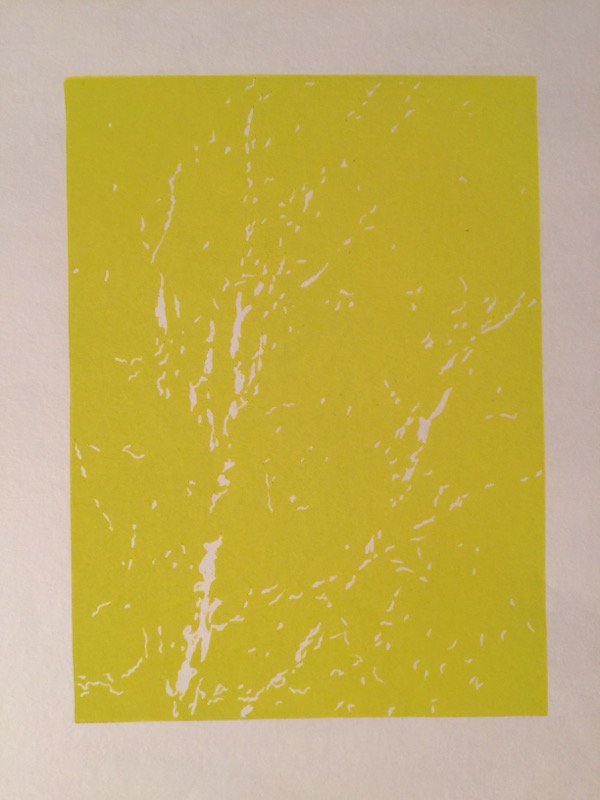
The next step is determining which color to print first. I usually go for the lightest color. Sometimes that's obvious, sometimes not so much. In my working print, there is a very light greenish yellow, so that was printed first. It's always weird to see such a huge mass of color that may only make up a small amount of the final print after all the other colors are overlayed. Before I print the first color, I tear the paper to an appropriate size and add registration tabs - little plastic tabs with a hole punched in them taped to each piece of paper. I have several registration plates - for different-size blocks of linoleum - which consist of matboard with a cutout to drop the plate into (matboard thickness is about half that of the linoleum) and the registration pins. Here are photos of the registration plate on the pressbed, the ink rolled out, and the printed first color:
I will chronicle each color as it is printed. Or check out my tumblr for the images.