prints, drawings, paintings, web development, blog posts, link to etsy shop
Color and Pain in Printmaking
Color and Pain in Printmaking
After the last four-color print using carborundum grit as a medium, I was quick to attempt the same thing with more control over the distribution of color. I decided to do another small intaglio four-color print using the drypoint method on plastic plates. I thought about how the four-color print process is done in a production setting with real hardware: the color separations are done in half-tone dots, each process color - cyan, magenta, yellow, black - has a different angle/offset so that when they are printed together, your eye does the blending of the colors and it looks like continuous tone.
I couldn't make half-tone dots with drypoint, so I decided to do the next best thing, use parallel lines. There are four process colors which mades it easy. Each drypoint plate could be done as a parallel line drawing in different directions so the colors would intersect but not overlap: horizontal, vertical, diagonal, and... diagonal (perpendicular to the other diagonal). The concept made perfect sense in my mind, so I printed out the black and white separations and immediately went about creating the drypoint plates.
Except, I forgot one thing.
Drypoint hurts. I was able to work for about a half-hour at a time before my right elbow was aching and my fingers were cramped into a claw-like structure from clutching the stylus. It took over a week of working for about 2-3 hours a day to finish four 8-inch x 6-inch plates. By the end I needed a rest. I even skipped a couple of swim workouts because my arm was screaming.
It was often very difficult to create the fine lines necessary when I was sticking to parallel lines in only one direction. My biggest fear (as always with multiple-color prints) was that in the end, nothing would line up exactly. Especially those fine lines. Here are photos of the plates taken on a black background - they're almost like negatives of the image. (The image was a photograph that I had taken at dusk of the Ohio and Erie Canal while running on the canal towpath)
Cyan (blue) plate:
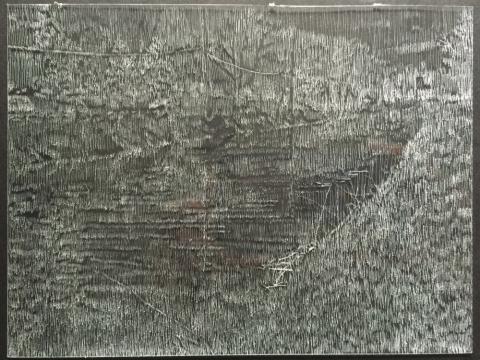
Magenta (red) plate:
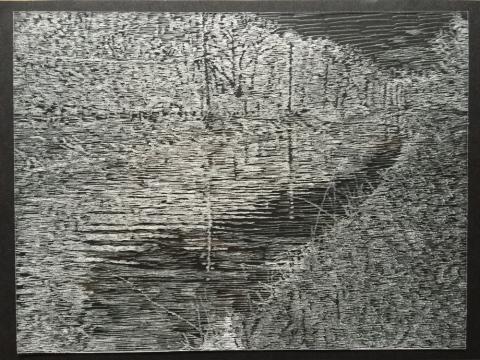
Yellow plate:
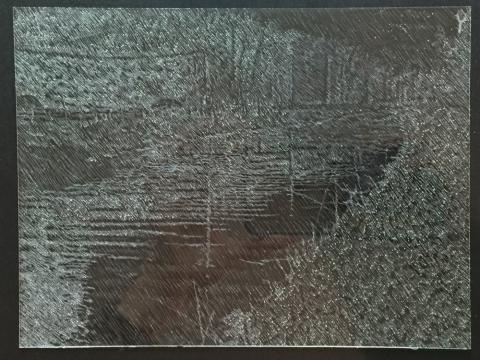
Black plate:
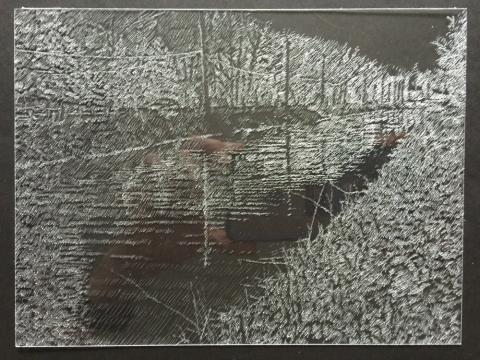
The differences in the different color separations seemed so subtle that while I was making the drypoint lines, I wondered if it would be a complete disaster because I didn't make the "grays" just right with those parallel lines. I worried it would end up just a mass of color with no fine details.
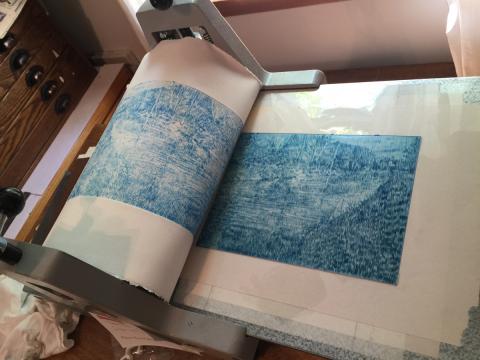
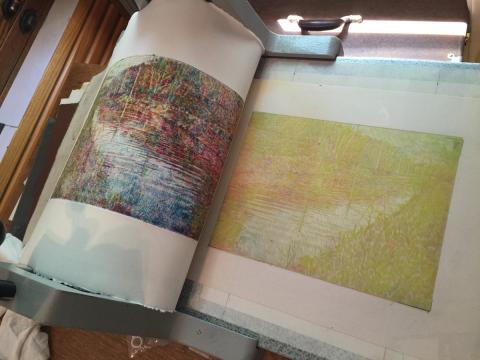
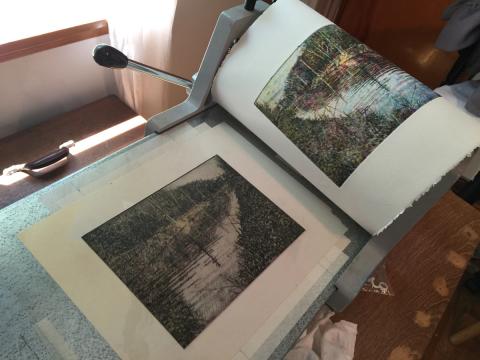
When it was time to print, I decided to photograph the process so you can see how it plays out. I have to ink up all the plates while the paper is soaking, and then using a registration guide on the press bed, I place each one in the same position and run the paper through the press, each time keeping it pinned under the roller so it doesn't move. Intaglio plates are inked and wiped, leaving the ink behind in the recesses. Under high pressure, the wet paper is pressed into the recesses which offsets the ink onto the paper. Different amounts of wiping determine how much ink is left behind, so I experimented with two different amounts of wiping for my first two proofs. Here are photos of the colors and the image after each color was printed:
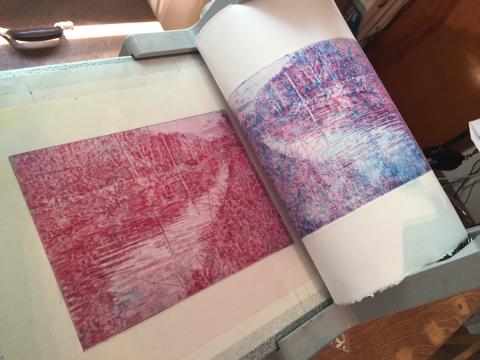
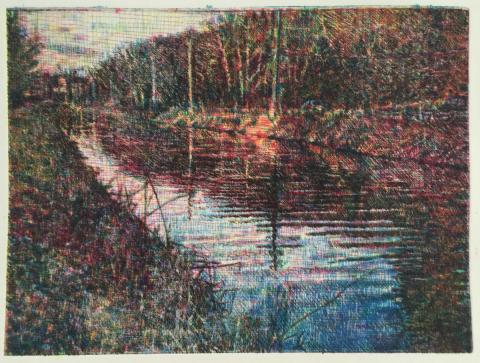
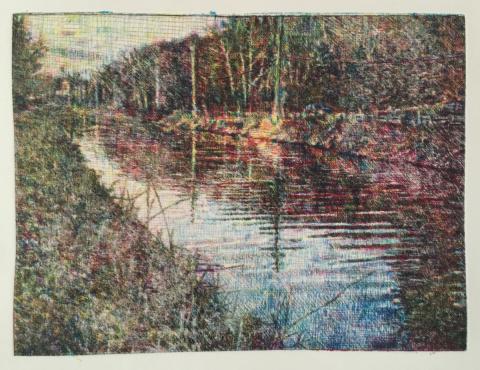
And here ar photos of the final two prints/proofs - the first one is almost too saturated with color, but the second one seemed about right.. maybe a little darker black next time:
